
DOCUMENTATION AND INSTRUCTIONS:
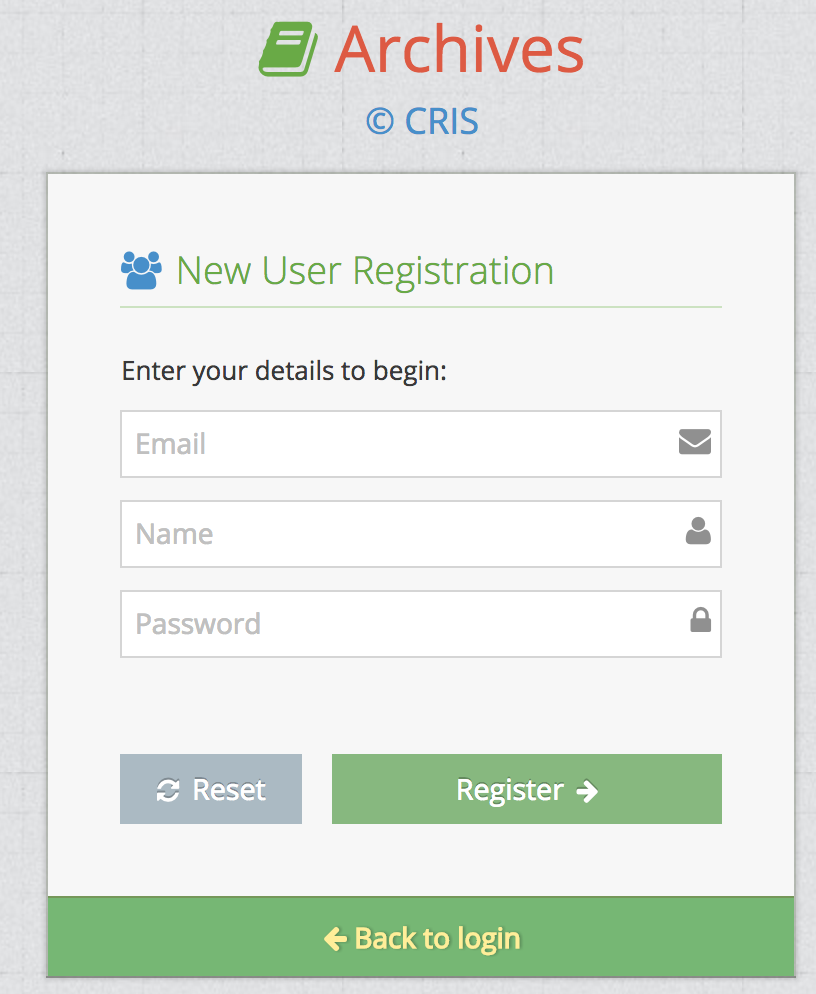
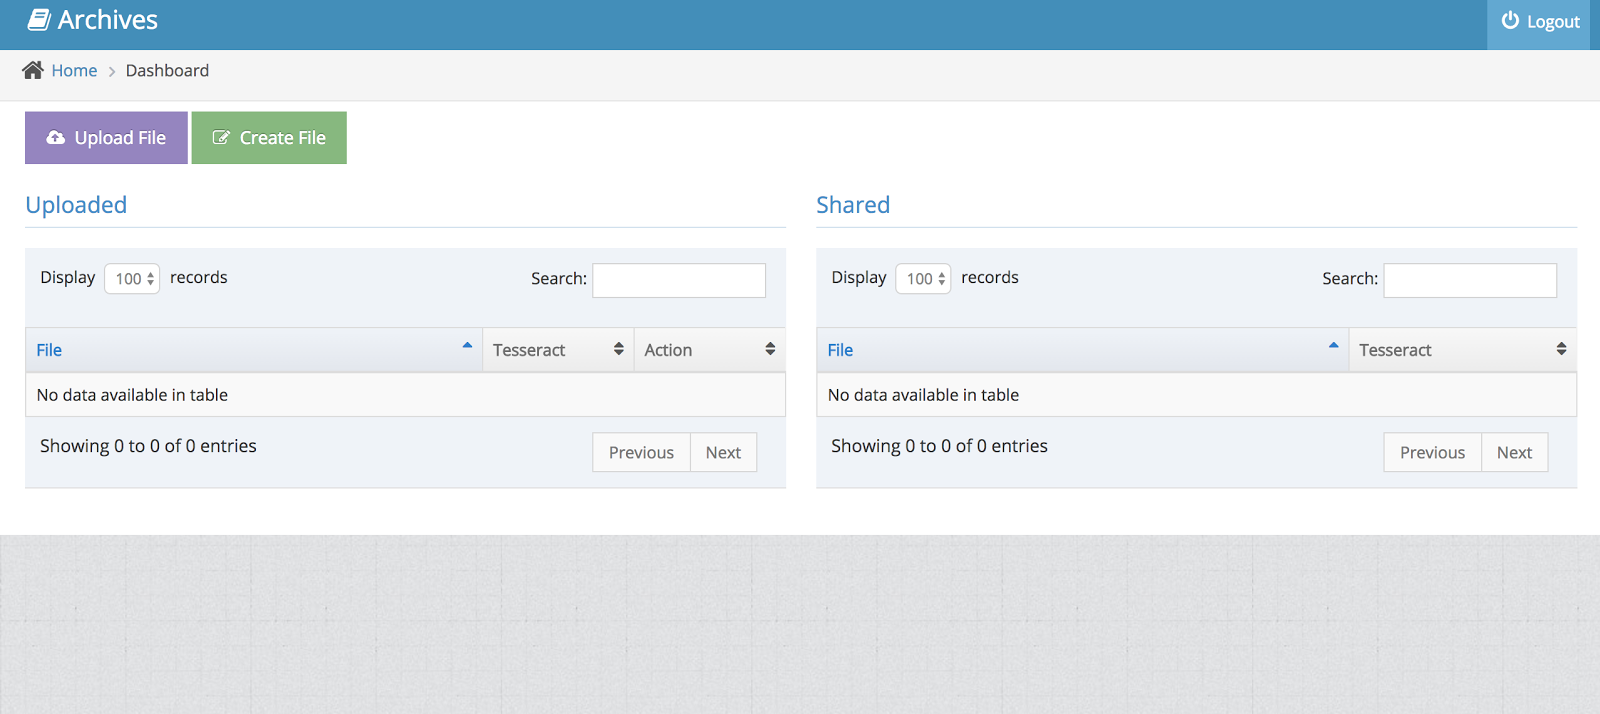
Upon successful sign up you will be directly logged into the system. You will see the user dashboard as in Figure 2. Details of dashboard are described in Section 2 below.
Using the Archives System
When you login successfully or register successfully in the CRIS Archives Application you will see the "Logout" button on Top Right corner so that you can logout of the application when you have completed your work.
On the top left, there are two buttons for adding files to the CRIS Archives Application.
- "Upload File" : Using this you can upload any PDF file into the archives application. The application then performs OCR on the PDF file uploaded to extract text from the PDF file uploaded.
- "Create File": Creates a fresh file rather than performing OCR on already existing file, then you can click on this button.
The two tables below are initially empty.
Uploaded:
Here you will see the PDF files that have uploaded or created using the buttons for "Upload File" or "Create File"
By default 100 records are shown, but you can customize the number of records you would like to see.
You can also type in Search box to find matching file names.
When you have uploaded the file to the system, you will see the following entries for a file in a single row.
- File Name
- Tesseract : (OCR engine) It has two buttons:
- Edit Button: For Editing the OCR output generated from the PDF file or Edit the text file created.
- Ebook Button: For downloading the ebook for the corresponding OCRed document.
- Action: Actions that you can perform on each file
- Share: If you would like to invite any other user to edit the OCR output. After clicking the button, enter the email id of the user who you would like to share the document. They must have an account in the system.
- Delete: If you would like to delete the entry for the file from the system.
Shared:
- The system allows you to invite other collaborators to edit the same file that is on your system. Here you will see a list of files if anyone has invited you to edit a file "Uploaded" or "Created By" other users.