
Tag Archives: convert
Voices’ Accessibility Tools
IDEAL Group, a partner in the Voices of World War I project, has collected these tools and developed these tutorials to help you develop your own accessible documents.
Please start by reading the Objectives and Requirements page.
While you may skip to a tutorial of a subject that catches your eye, we suggest that you follow … Continue Reading ››
Tutorial Objectives and Requirements for Success
Objective of the Tutorials:
-
Present strategies that make it as easy as possible to create accessible digital materials;
-
Introduce high-quality, open source, no-cost applications designed to enable users to create/publish accessible digital materials;
-
Provide tutorials that explain how to create digital materials;
… Continue Reading ››
Tutorial #7: Explore IDEAL Group’s “Tesseract,” Online OCR Implementation
DOCUMENTATION AND INSTRUCTIONS:
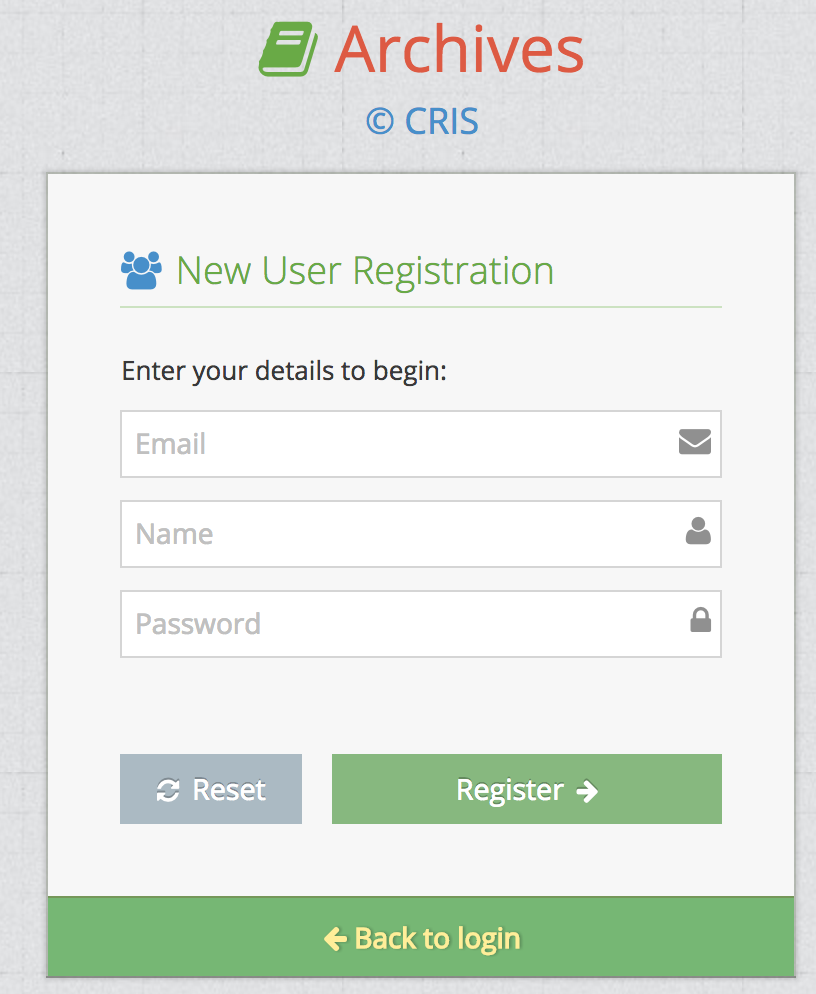
Upon successful sign up you will be directly logged into the system. You will see the user dashboard as in Figure 2. Details of dashboard are described in Section 2 below.
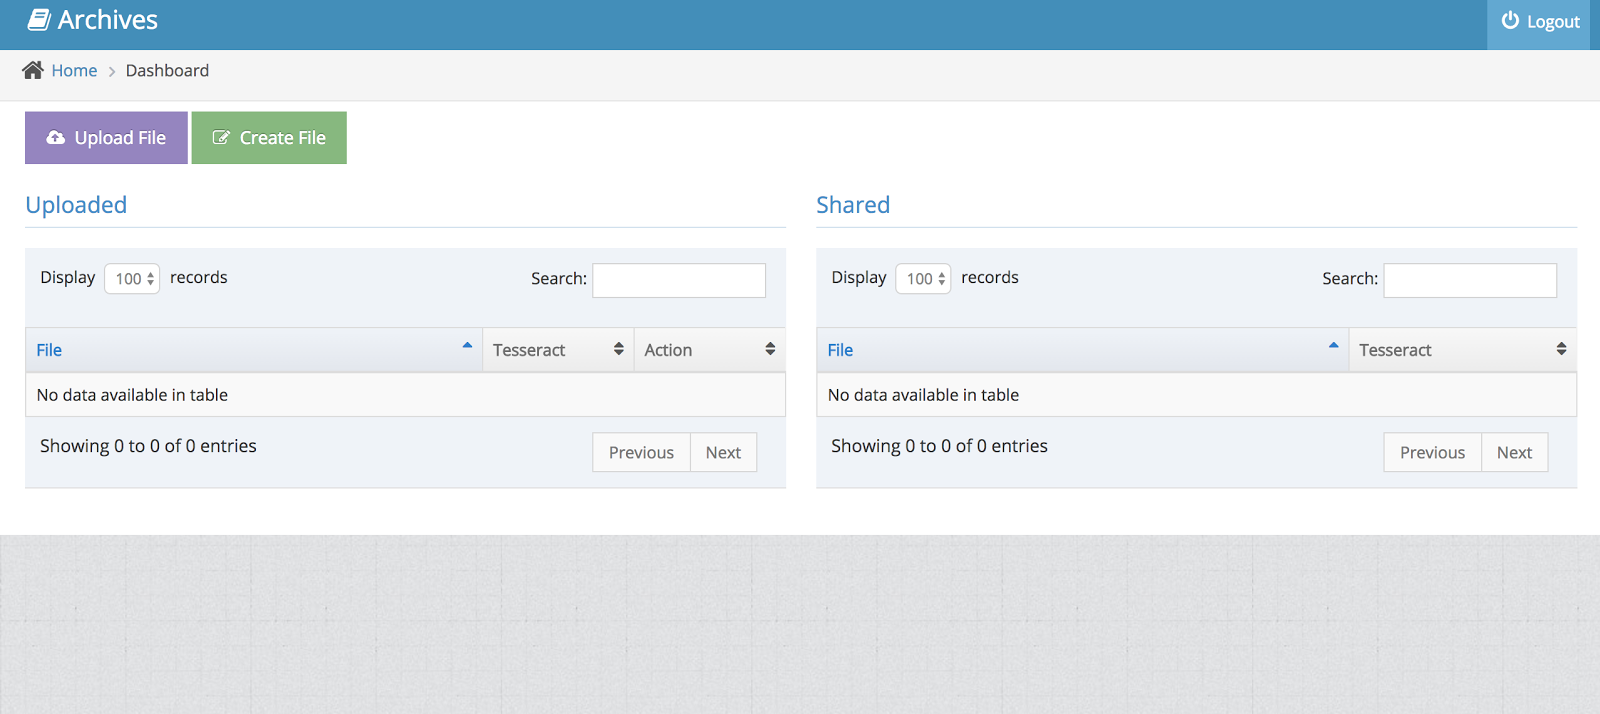
Using the Archives System
When you login successfully or register successfully in the CRIS Archives Application you will see the "Logout" button on Top Right corner so that you can logout of the application when you have completed your work.
On the top left, there are two buttons for adding files to the CRIS Archives Application.
- "Upload File" : Using this you can upload any PDF file into the archives application. The application then performs OCR on the PDF file uploaded to extract text from the PDF file uploaded.
- "Create File": Creates a fresh file rather than performing OCR on already existing file, then you can click on this button.
The two tables below are initially empty.
Uploaded:
Here you will see the PDF files that have uploaded or created using the buttons for "Upload File" or "Create File"
By default 100 records are shown, but you can customize the number of records you would like to see.
You can also type in Search box to find matching file names.
When you have uploaded the file to the system, you will see the following entries for a file in a single row.
- File Name
- Tesseract : (OCR engine) It has two buttons:
- Edit Button: For Editing the OCR output generated from the PDF file or Edit the text file created.
- Ebook Button: For downloading the ebook for the corresponding OCRed document.
- Action: Actions that you can perform on each file
- Share: If you would like to invite any other user to edit the OCR output. After clicking the button, enter the email id of the user who you would like to share the document. They must have an account in the system.
- Delete: If you would like to delete the entry for the file from the system.
Shared:
- The system allows you to invite other collaborators to edit the same file that is on your system. Here you will see a list of files if anyone has invited you to edit a file "Uploaded" or "Created By" other users.
Tutorial #1: Create an Accessible Word and PDF Document
If Adobe Acrobat Reader DC is not already installed on the computer you are using to take this tutorial, please install it from the following website: https://get.adobe.com/reader/
Background Information:
Microsoft Word is currently the most common word processor on the market. As such, the .docx format has become a popular format for … Continue Reading ››
Tutorial #2: Use Central Access Reader (CAR) to Read an Accessible Word Document
CAR Quick Tutorial
- Download and install Central Access Reader (CAR), a powerful open source accessible reader (Windows 64-bit only): http://archive.org/download/CARSetup64/CAR_Setup_64.exe
- We recommend making this reader available from your website if you decide to provide digital materials in accessible DOCX format.
- Open Central Access Reader.
- Go to the "Advanced Settings Menu",
Continue Reading ››
 Continue Reading ››
Tutorial #3: Generate an MP3 File From an Accessible Word Document Using Central Access Reader
In this tutorial you will convert and save all, or portions, of the DOCX file you created as an MP3 file.
- Open Central Access Reader.
- Press Ctrl-M to save the complete DOCX file as an MP3 file.
- Play the MP3 file with any MP3 player.
- Edit-Copy the title of any article in the newsletter.
- Highlight … Continue Reading ››
Tutorial #5: Create an EPUB eBook From an Accessible OpenOffice Document
- Use this link to download and install Apache OpenOffice V4.
- Use this link to download and install Writer2ePub (W2E). Writer2ePub (W2E) is an extension for OpenOffice (OO) Writer that allows you to create an ePub file from any file format that OO Writer can read. Important note: This conversion, in and of … Continue Reading ››
Tutorial #6: Create an Accessible, Human Narrated, DAISY Ebook Using Tobi
Instructions: Getting Started
- Download and Install Tobi using this link.
- Download: Collection-of-Writings-from-WWI.docx
- Open the document in Word.
- See how the document was formatted using Headings 1 and 2.
- Click on the Accessibility Tab in Word’s Title Bar Menu.
- Click on the SaveAsDAISY Button.
- Select “DAISY XML (from single DOCX)." You will see the following dialog box:
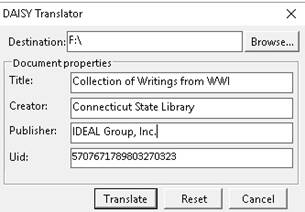
- Enter the information contained in each field. Click the "Translate" button. You will see the following dialog box:

- Upon successful translation, you will see the following dialog box:
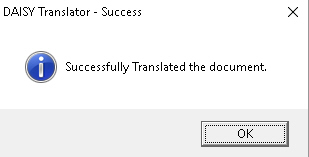
- Your file has now been saved as a DAISY XML file with the following name: Collection-of-Writings-from-WWI.xml
- Open Tobi.
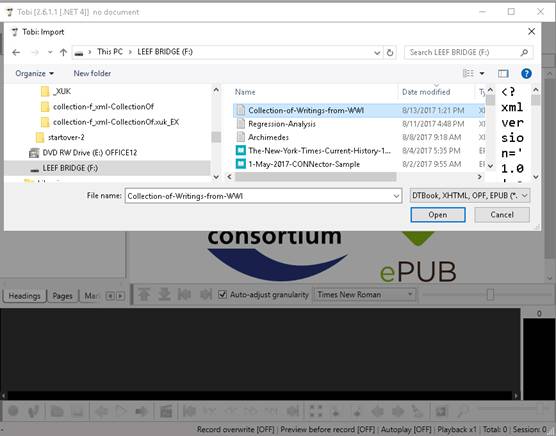
- Click on "File" then "Import" to import the XML file into Tobi. Doing this should look something like this:

- At the end of the import process you will see the project audio dialog box:
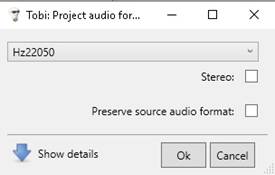
- Click OK. You should see a screen similar to the following:
- This is the point you are expected to insert and synchronize your pre-recorded audio files with the text of the DAISY eBook.
- Download and unzip the following edited, human-narrated recordings: edited-audio-recordings.zip Note: The edited audio recordings were created by editing the original audio recordings (here they are in unedited form to download and listen to: unedited-audio-recordings.zip). We used an open source audio editor called Audacity to edit the audio files. While the use of Audacity is not covered in this tutorial, and if you are interested in synchronizing pre-recorded audio files with text, we recommend that you download, install, and experiment with/learn to use Audacity using this link.
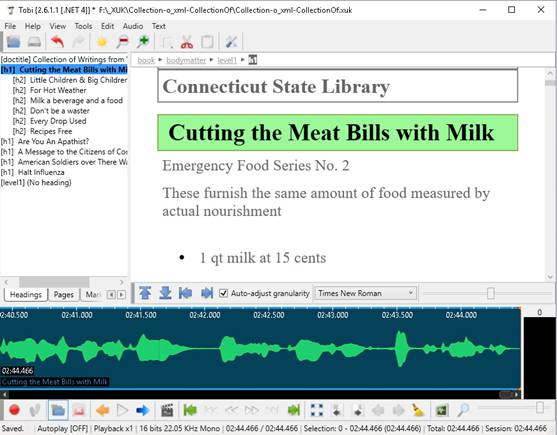
- Using the edited audio files you just unzipped (edited-audio-recordings.zip), you can begin to add and synchronize the audio tracks with the text of the eBook. You can begin doing this by first highlighting the entry, "Cutting the Meat Bills with Milk" displayed in Tobi's Index Window (window to the Left of the window containing the actual text of the DAISY book.
- Next, click on the Blue file folder button on the bottom Left of the Tobi window.

- Select the file named,
"1-Edited_Cutting_the_Meat_Bills_with_Milk.mp3." You will now see the wave form of the audio file you just opened into the eBook. Your screen will look something similar to this:
You are now going to synchronize the recording with sentences contained in the section entitled, "Cutting the Meat Bills with Milk." You are then going to repeat this process by highlighting the next section of the eBook entitled, "Are you an Apathist?" You will then click the Blue folder button and open the next recording, entitled, "2-Edited_Are_You_An_Apathist.mp3" and repeat the process above... and so on. You will be using the "Ctrl-Return" shortcut key to synchronize the audio with the text. To learn how to do this, please view the following video. We recommend that you listen to it several times before attempting the synchronization.
Important Note: It's important that you preview/compare all audio recordings with the corresponding text of a DAISY eBook before trying to synchronize the two. If there's not an exact match, you are going to run into major problems. If there is a mismatch you will need to correct it by either:
- Editing the text, or,
- Editing the audio file.
Before moving on, we recommend listening to the following additional videos:
- Create & Convert: Using Tobi to author DAISY multimedia
- User Interface of Tobi
- Short tutorial (general use)
- DAISY 3 Digital Talking Book entitled "Tobi: a brief introduction